Description
API 6A flange gasket groove, special tool for measuring seal groove diameter, ball gauge can be replaced with imported
The ball gauge is a simple measuring tool. It uses the principle that the standard ball and the inclined plane are collinear and tangent to the datum plane. It is mainly used to detect the dimensions of the inclined plane and groove in various valves. Through accurate calculation, it is easy to obtain the processed size of. The ball gauge distinguishes multiple ball diameter selections based on the notch and opening diameter.
Ball gauges with diameters of 3/16″ 1/4″ 3/8″ 1/8″ 1/2″ are most commonly used in the entire petroleum industry and valve industry.
Small block-shaped setting surface:
The size is generally 40*40*35mm
Main rod size: φ19mm
Main rod length: 300mm (12″)
Measuring ball diameter: tungsten steel material φ4.76mm 3/16″ / φ6.35mm 1/4″
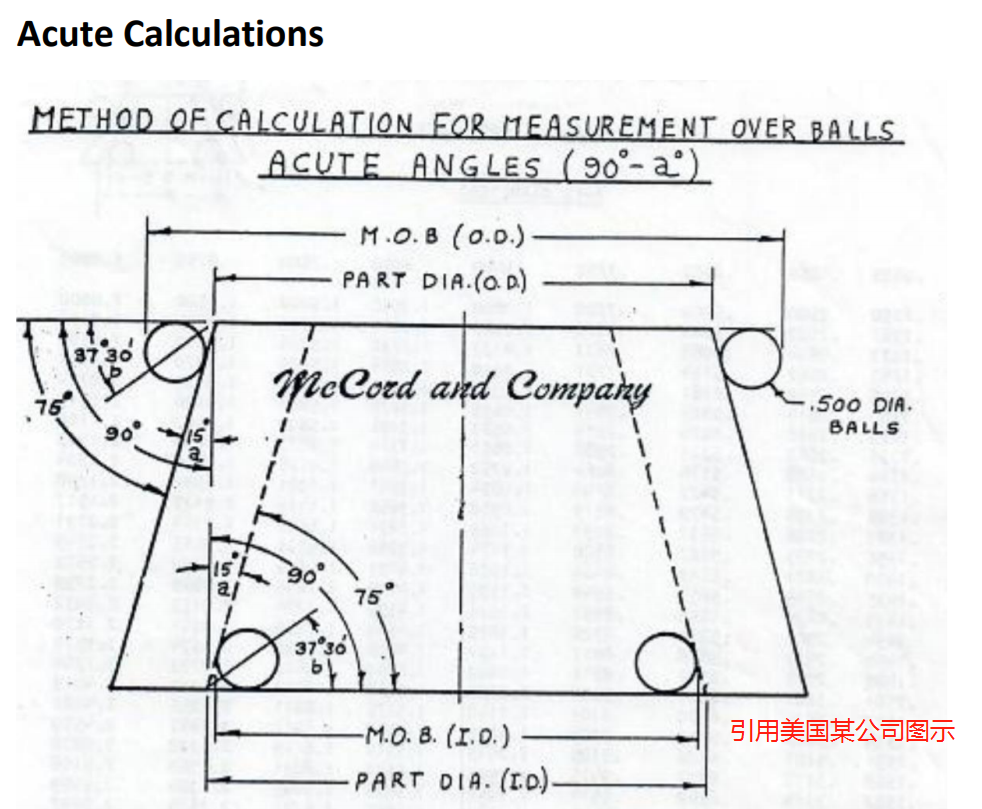
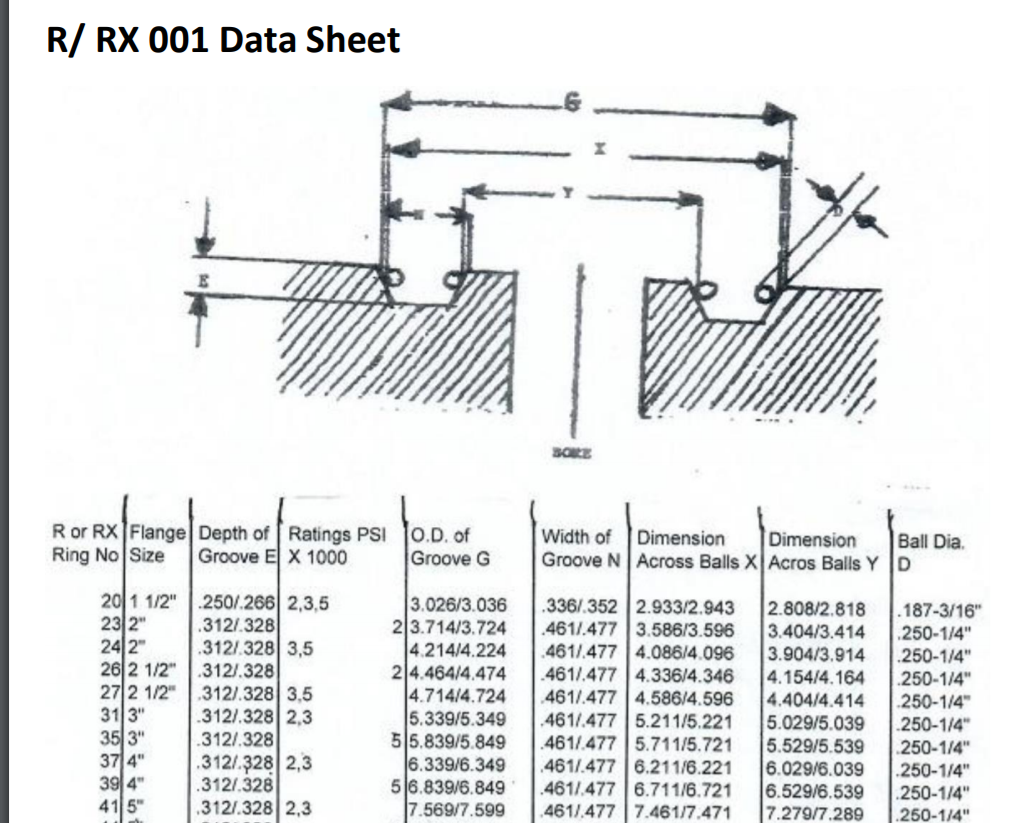
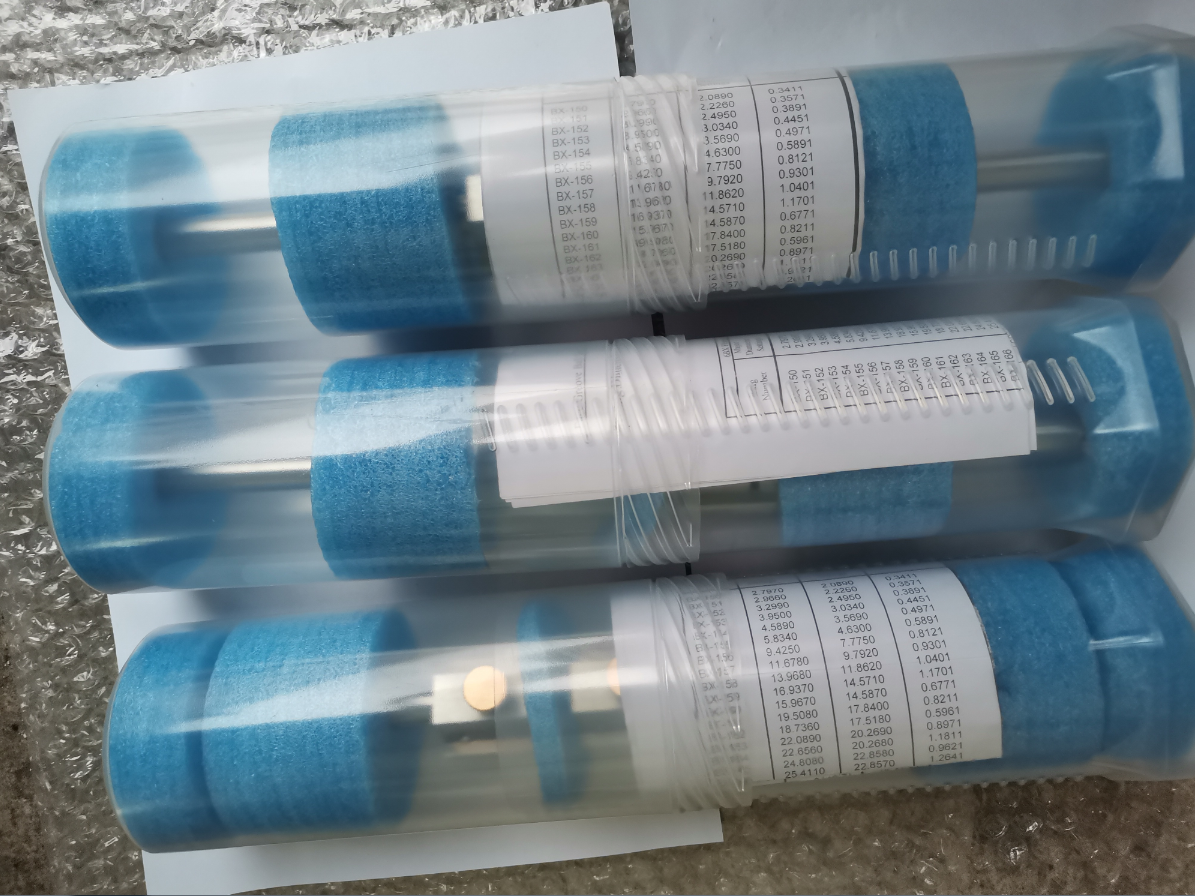
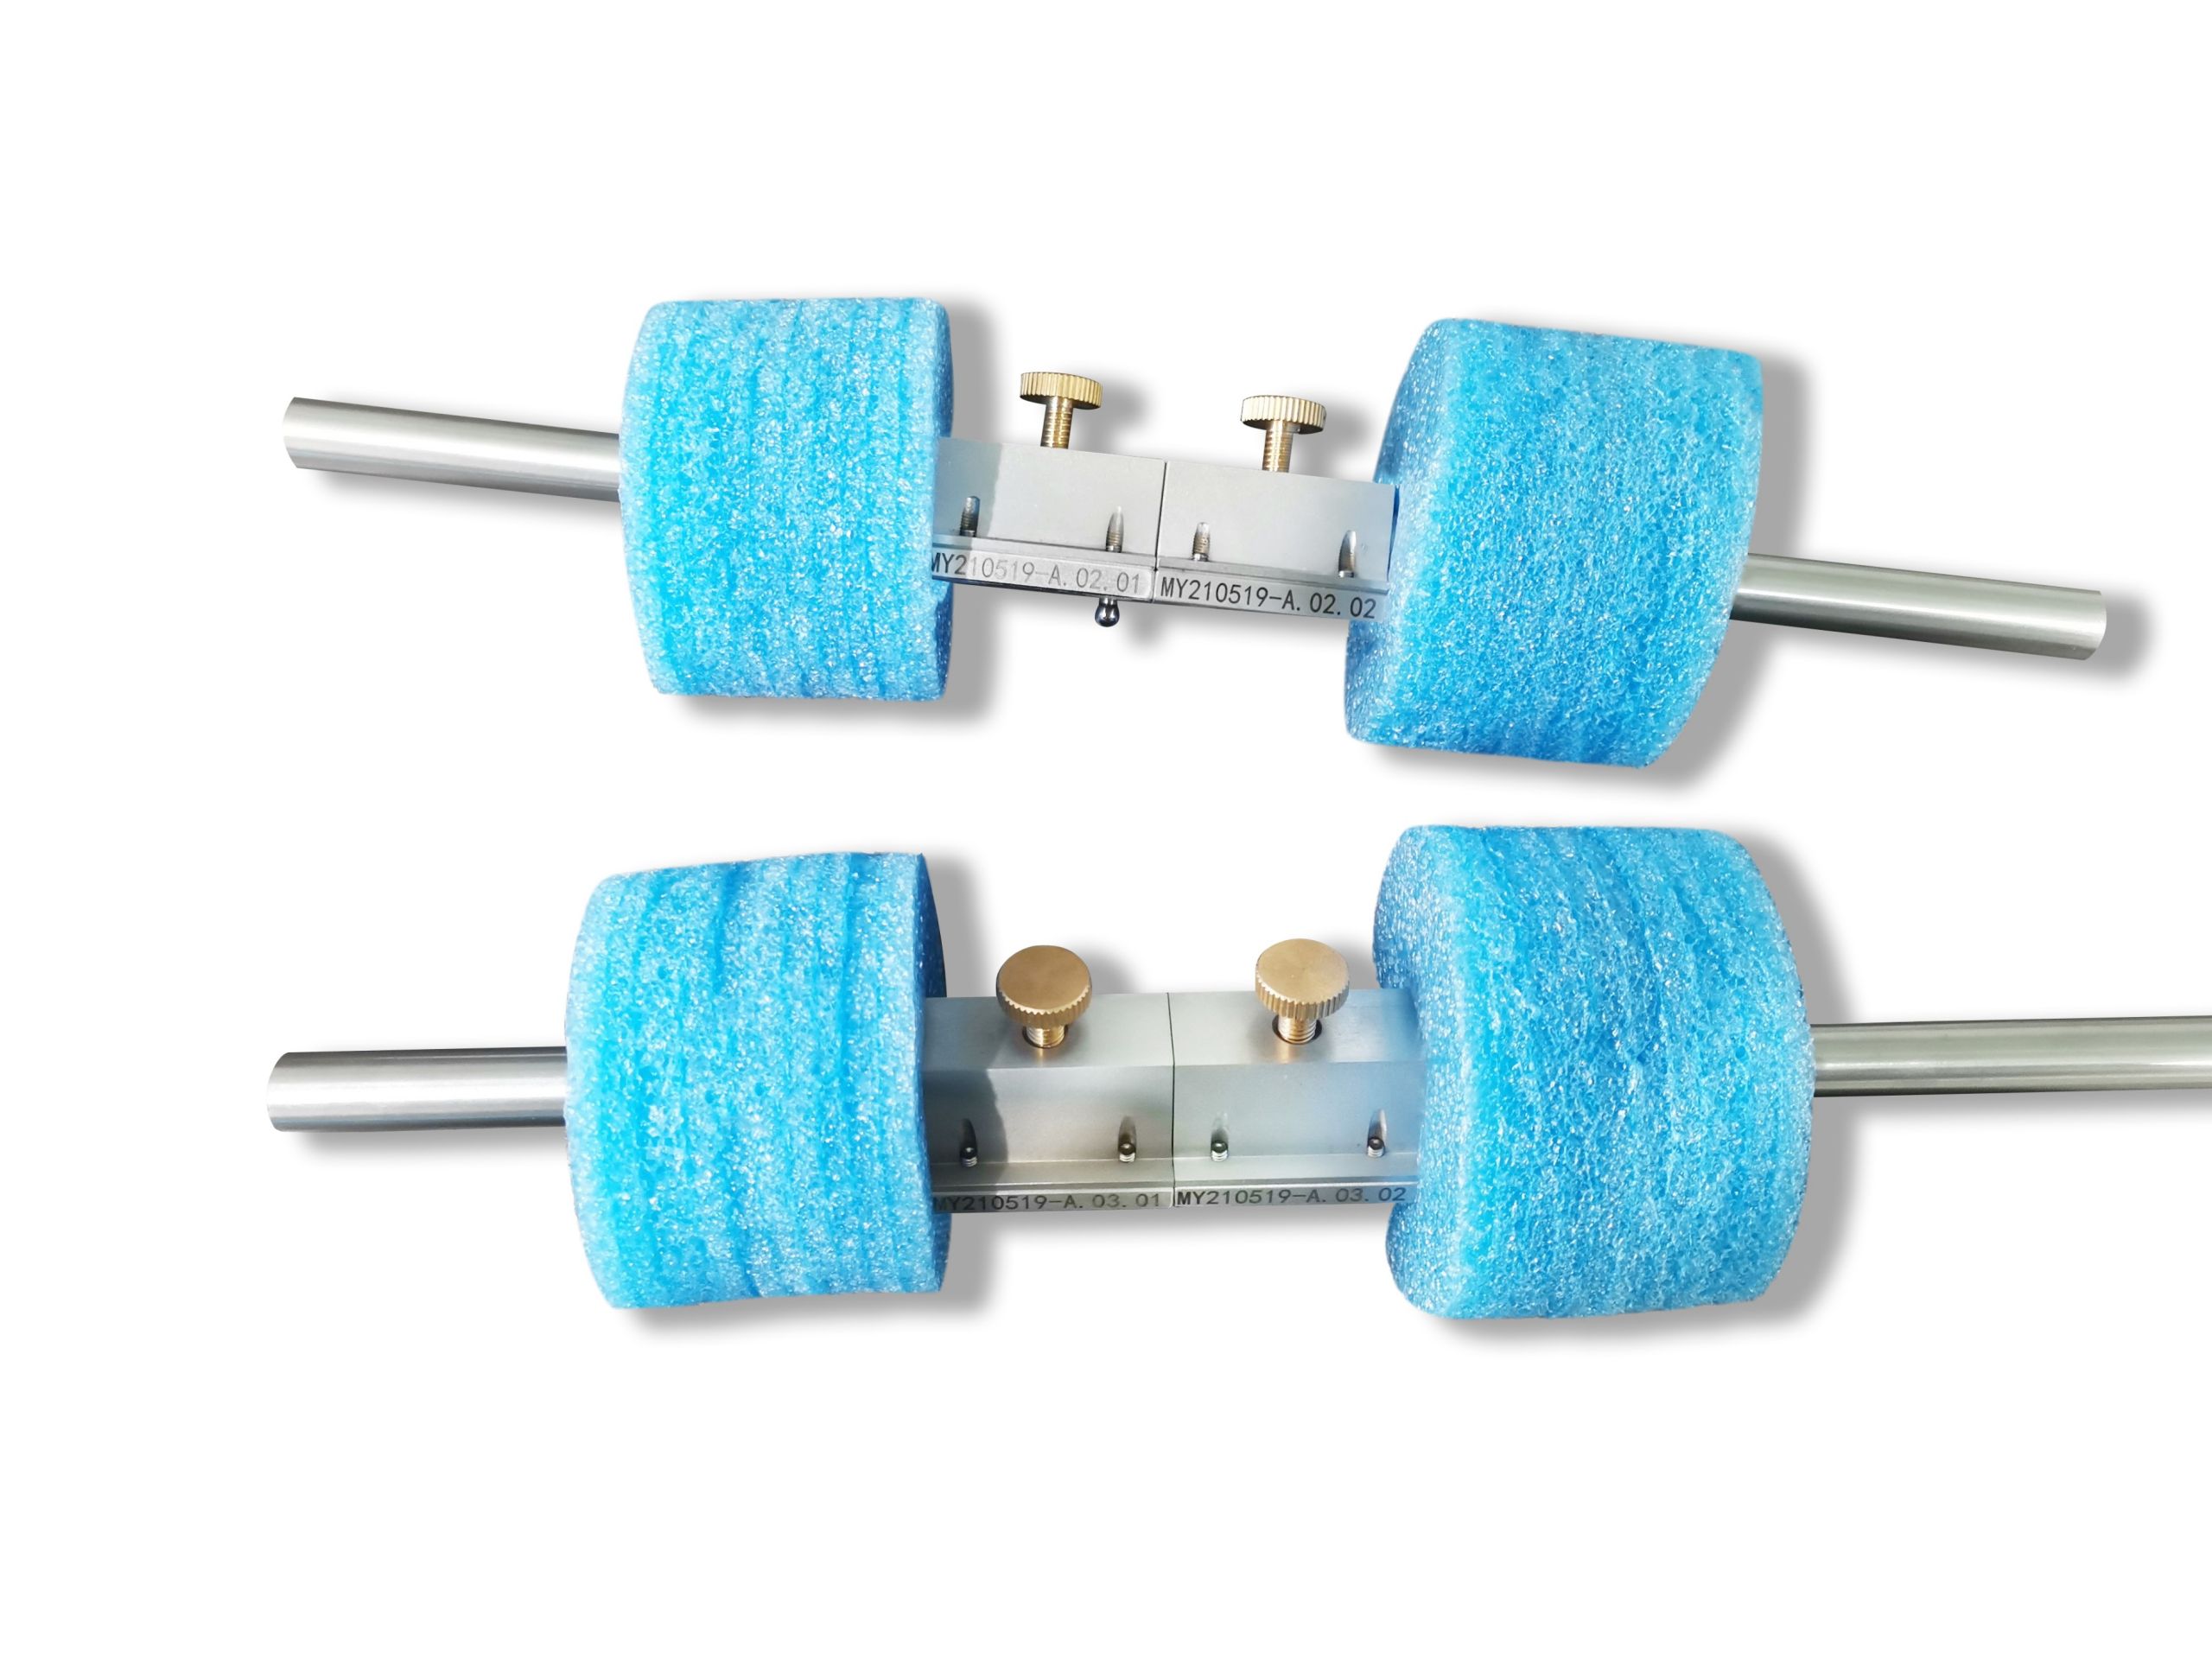
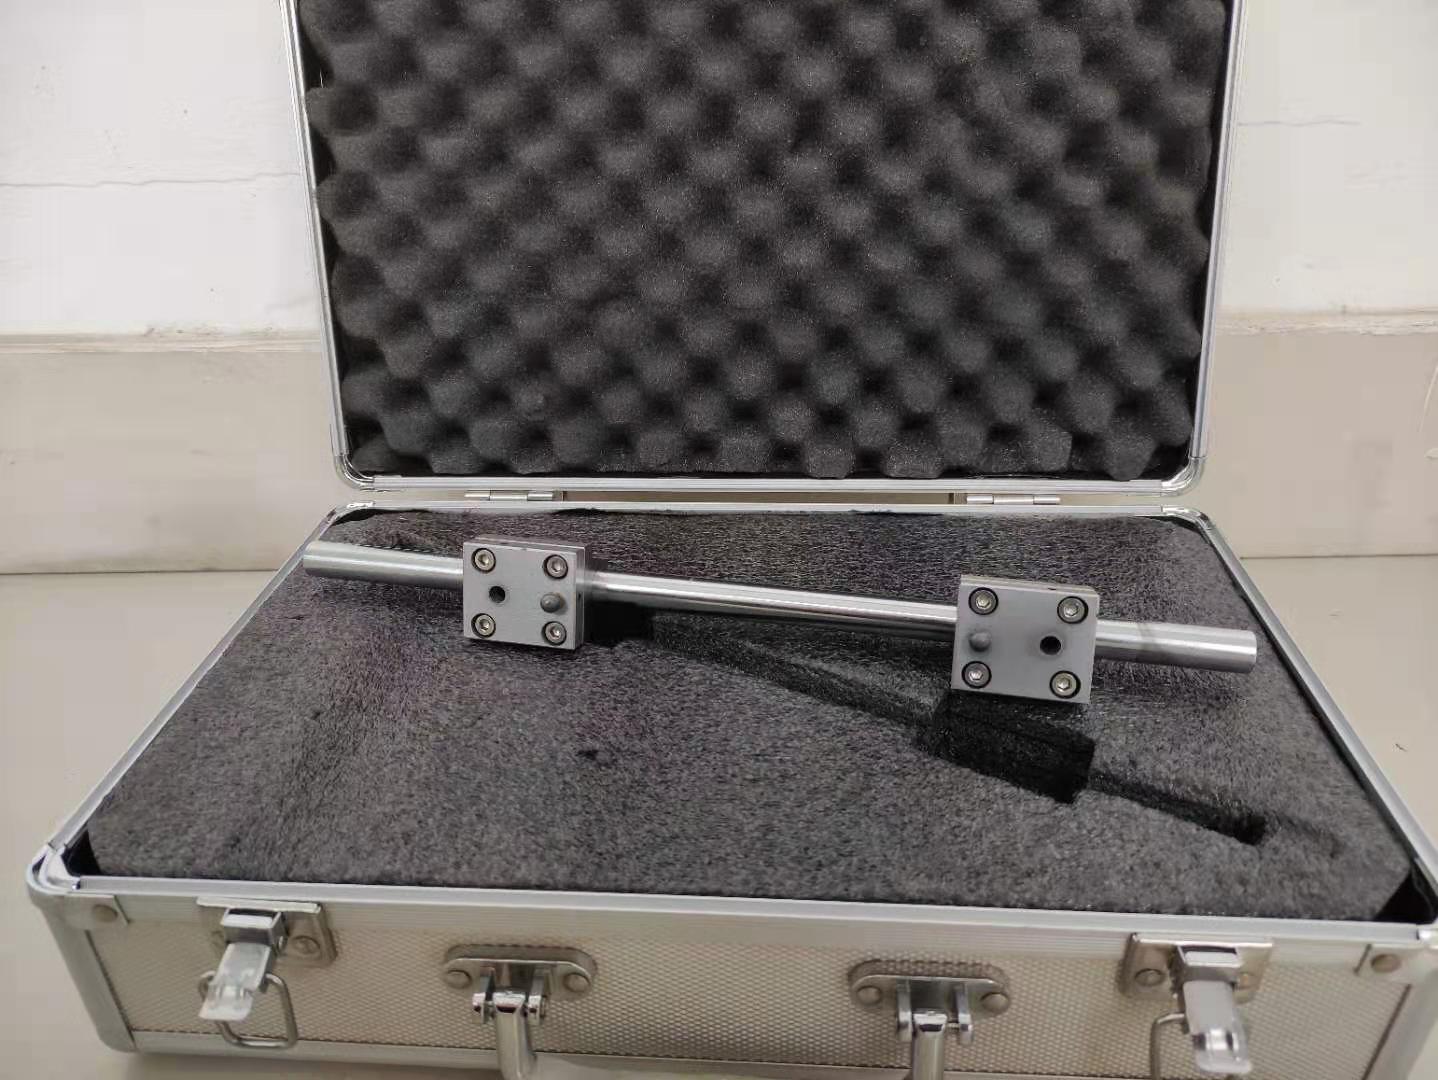 The so-called BX groove ball gauge (R groove ball gage), also known as the American Cameron ball gage, is a professional measuring tool used to measure the groove of sealing gaskets. It can measure the groove width and the diameter of the groove. Welcome to inquire. The operation method is generally as follows:
1) Choose the appropriate ball gauge according to our work instructions. You can use a caliper to measure the diameter of the ball to determine the ball size.
2) When measuring the large diameter
a) Place the ball gage with a large step surface outwards
b) To measure the maximum value, swing the ball gauge left and right to confirm that there is no gap. During the actual measurement process, use the symmetrical flange holes to confirm the position of the maximum value.
3) When measuring the small diameter:
a) Place the ball gauge with the larger step inward, lock one end of the ball gauge, place it on the groove, hold the locked end with your hand, gently slide the unlocked end, and draw across the maximum value of the small diameter so that it is The maximum value is reached under the action of thrust. After exceeding the maximum value, press and hold the unlocked end of the ball gauge to lock it, and swing the ball gauge in the left, right and diameter directions to ensure that it can easily cross the small diameter left and right, and there is no gap in the diameter direction. The measurement is The maximum value of the trail. (Note that you must stroke gently during the sliding process)
4) When the ball gauge used is larger than 0.375″, when measuring with a caliper, place the caliper at an angle to ensure that the value measured is the diameter direction of the ball gage.


Reviews
There are no reviews yet.